Using the Accounting Folder
The Accounting Folder allows you to centrally store your sales and purchase documents so they can later be retrieved manually or automatically by you or your accountant.
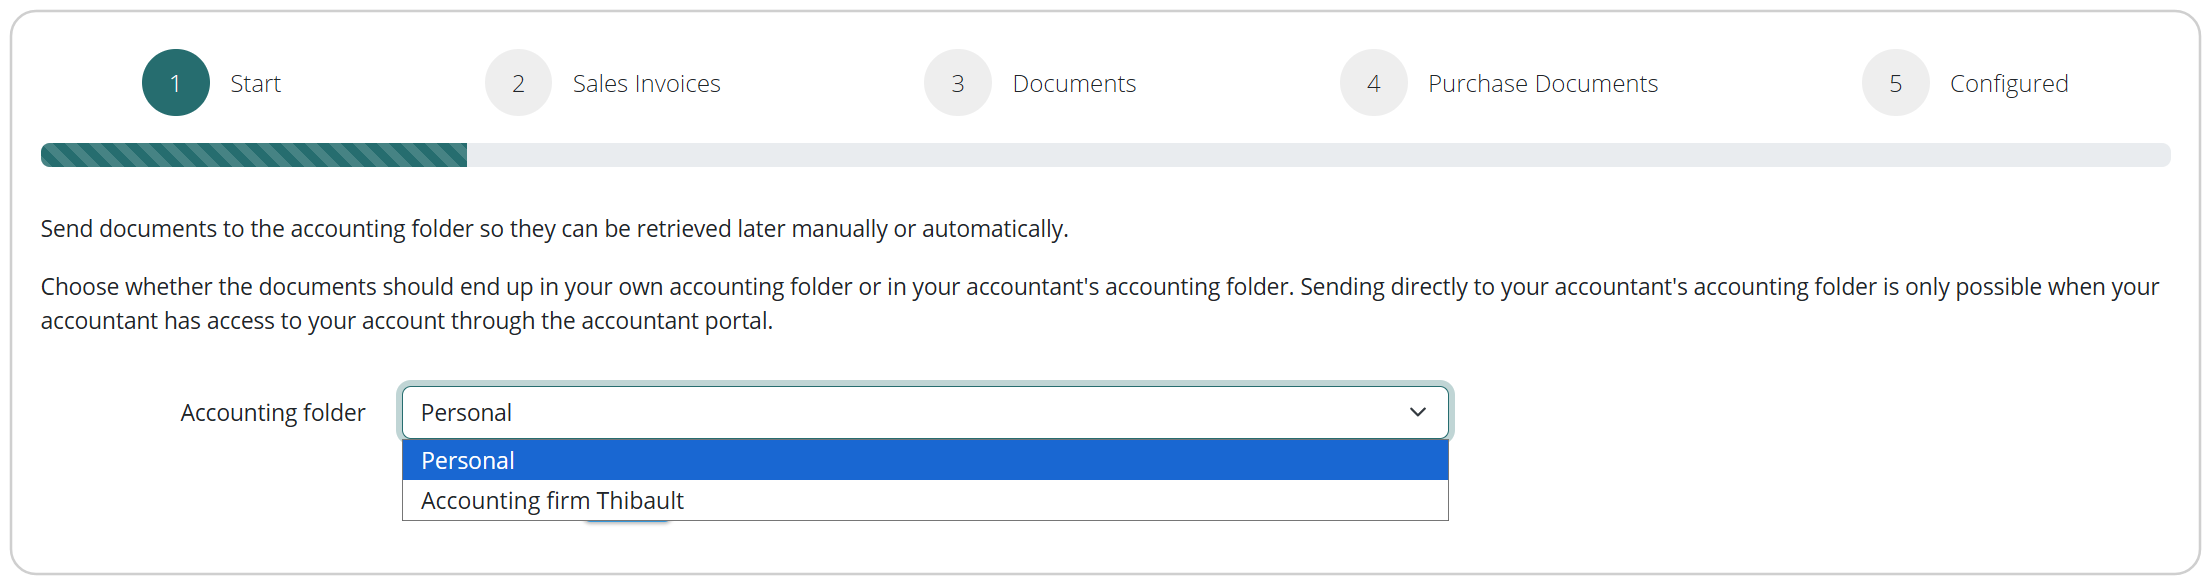
You decide whether the documents are stored in your personal Accounting Folder or directly in your accountant's Accounting Folder.
Setting up the Accounting Folder
Open the menu in the top right corner and go to:
Links > Accounting Folder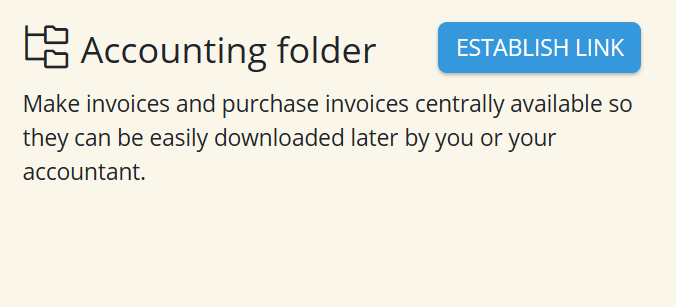
In the first step, choose how you want to use the Accounting Folder:
- Personal Accounting Folder
- Accountant Portal
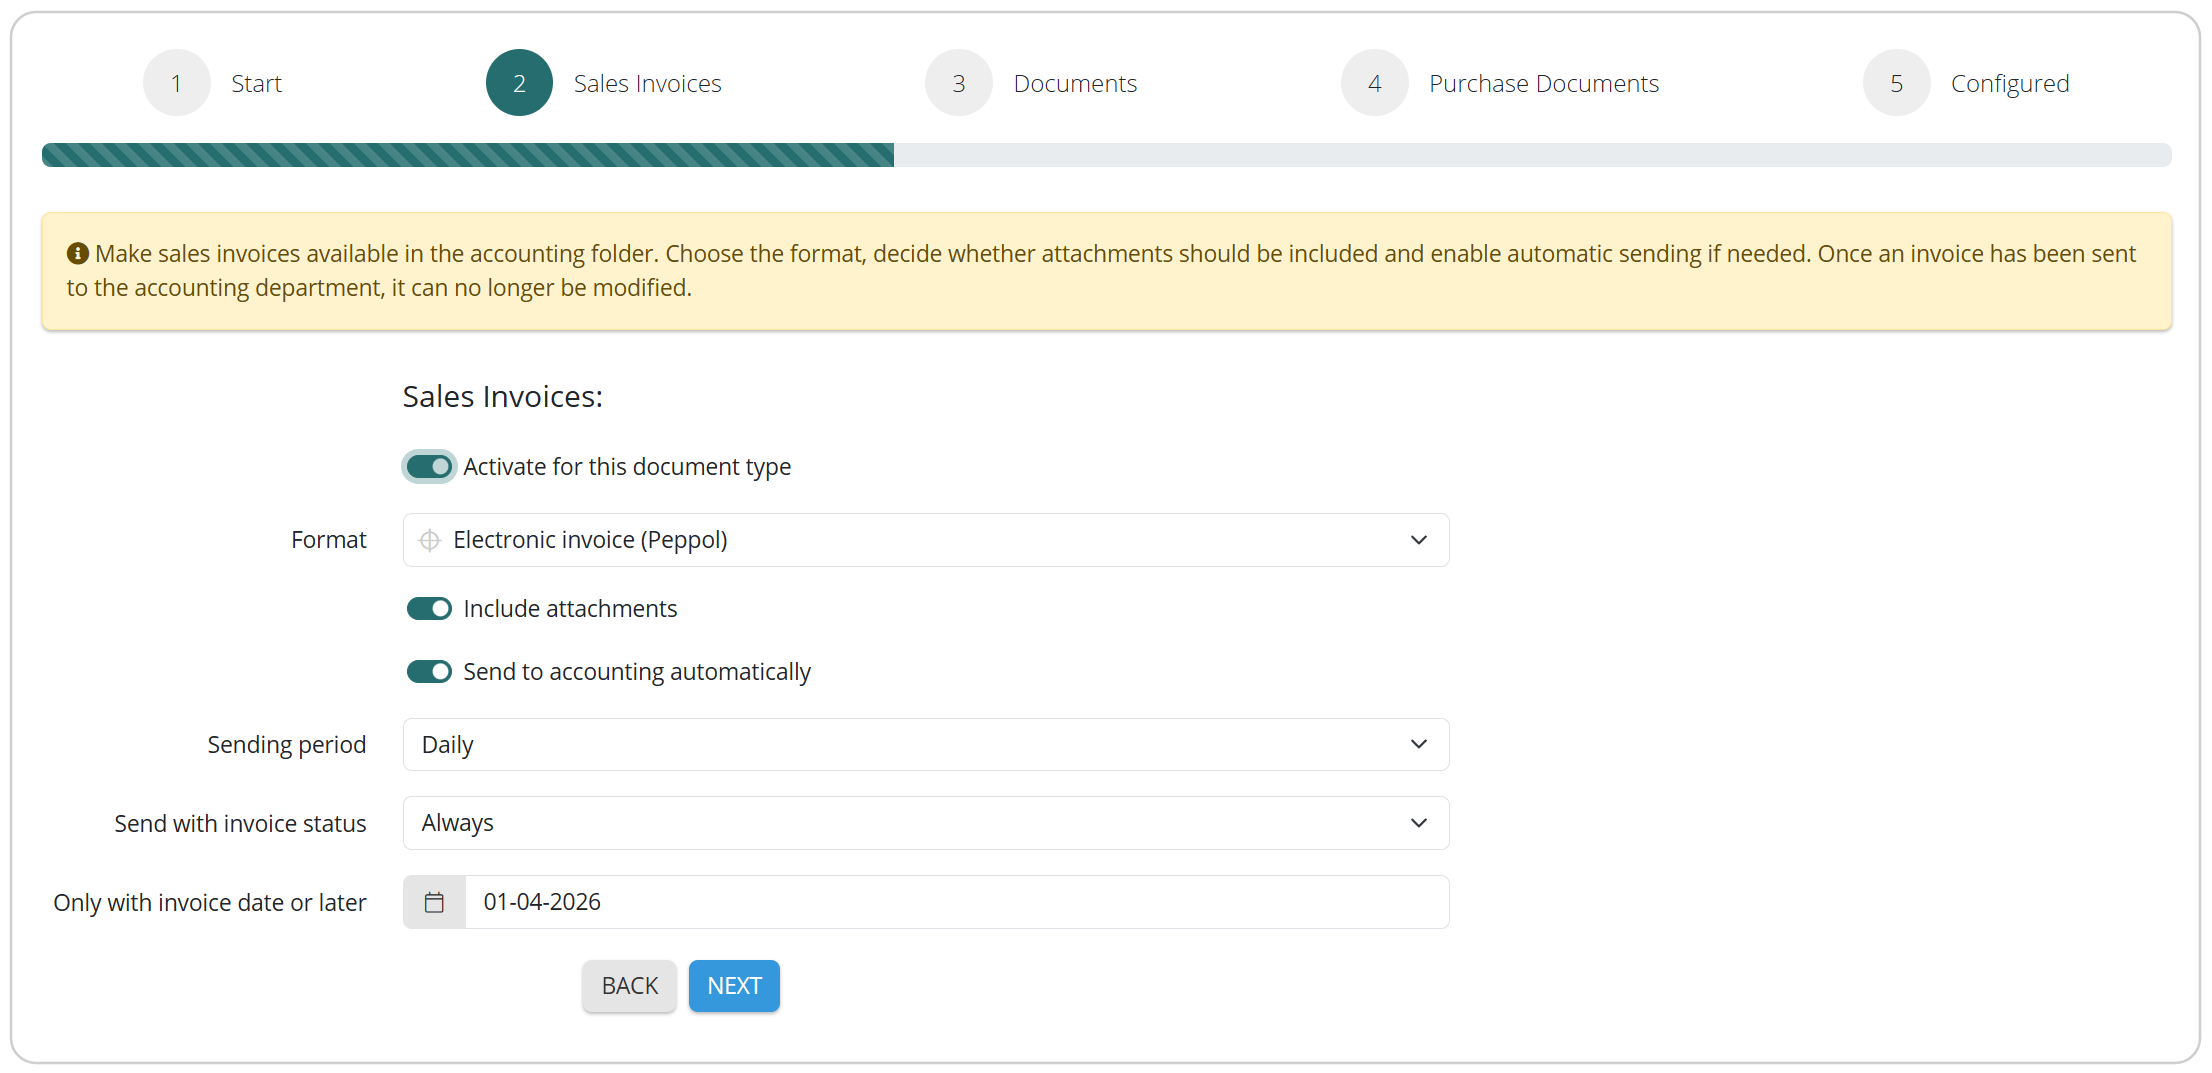
Next, complete the remaining steps and configure the desired settings for each document type. Choose the file format, decide whether attachments should be included, and enable automatic sending if desired.
Sending documents to the Accounting Folder
Open the overview of the document you want to send.
Then click the orange button Accounting > Choose a period > Confirm sending.
Tip: Don't want to send documents manually every time? You can enable automatic sending while configuring the Accounting Folder.
The document will now be sent to the configured Accounting Folder and/or forwarded to your accountant.
Viewing sent documents
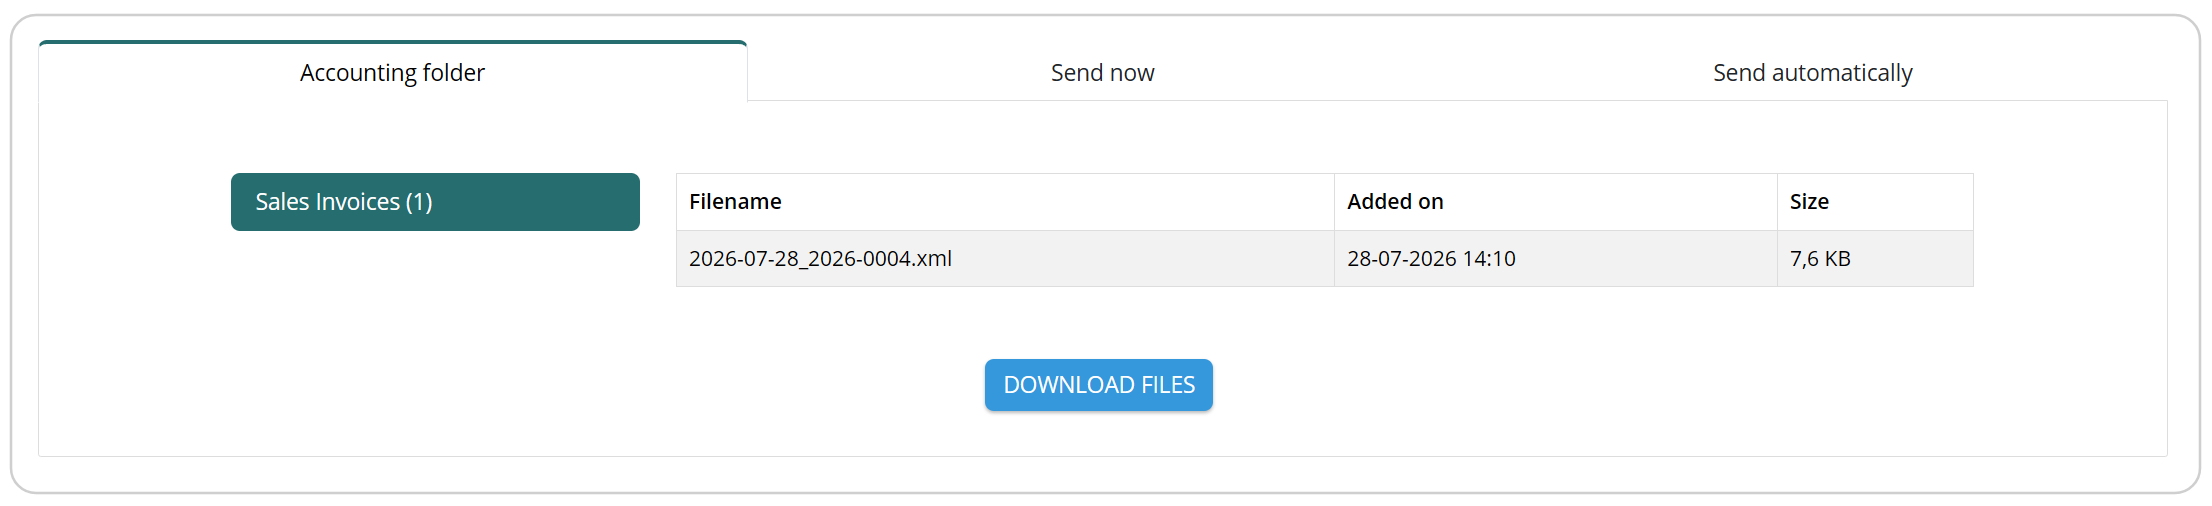
All documents you have sent to the Accounting Folder can easily be found again via the Accounting button.
Here you will find an overview of all documents made available to you or your accountant.
Using the blue Download files button, you can manually download the documents. After downloading, the files are automatically removed from the Accounting Folder. Automatic processing is available through the CLI.